
What Makes This Sourdough Recipe Easy?
This quick easy sourdough bread recipe is for those that wish to start making sourdough quickly but have been turned off by other instructions which seem to have way too many steps.
This method uses less hydration than other recipes (start at 300gms and work your way up to 350gms) and is very easy to make completely by hand, no machines required. It really is the lazy persons sourdough bread.
Using less hydration makes it easier to handle and will produce smaller holes in the bread but the great flavour of sourdough is still there, anyway let’s get into it.
Before You Start
There is a bit of a timeline involved with making a quick and easy sourdough bread but here is my basic one.
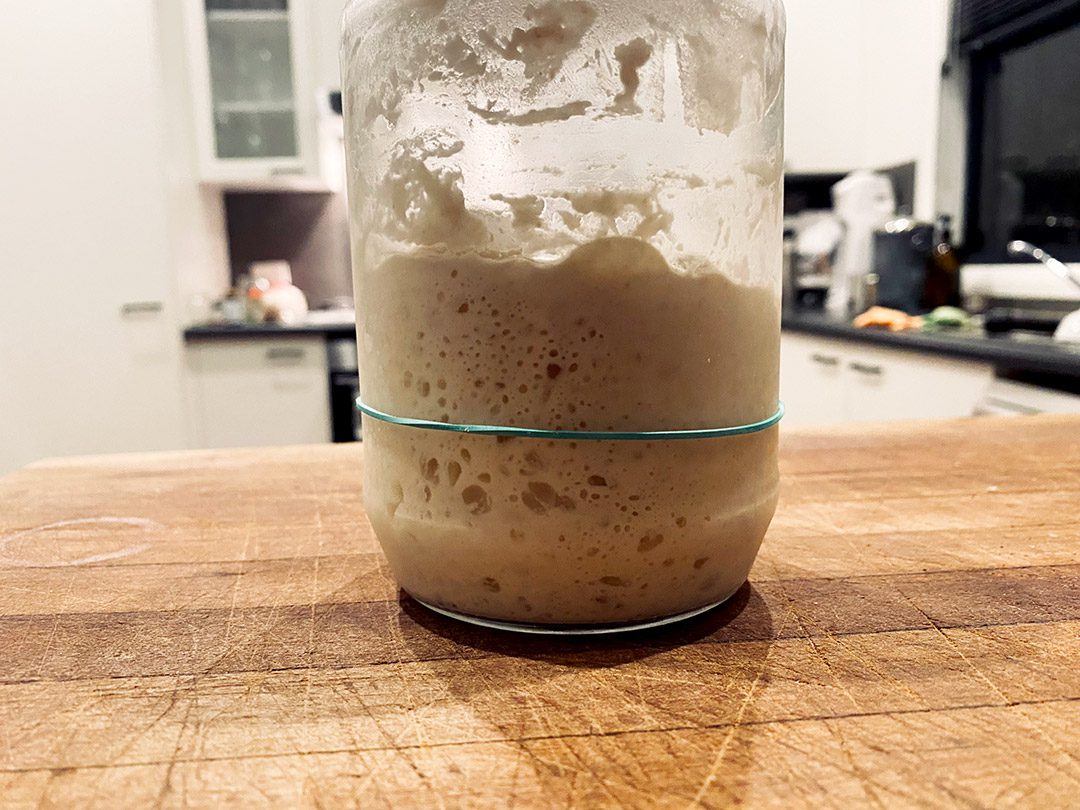
I will feed my sourdough starter early in the morning around 6.30 – 7.00am (I am an early bird) and place it in a warm spot.
Wait till it almost doubles in size it will be super active and ready to go. From feeding to ready to use could be between 3-6 hours, maybe more or a bit less. It just depends on a few things like room temperature and how healthy your starter is.
So, by about 10.30am – 12pm I’m ready to mix up my dough and will need to hang about for the next 2 hours to carry out the stretch and folding steps.
After the mixing, folding, resting and first rise steps it is generally ready to go into the fridge for the final proof by around 5.00 of 6.00pm, again depending on room temperature.
So ideally just after lunch time for a couple of hours then just after dinner for the final steps. After that the fridge does all the work.
Ingredients for Quick Easy Sourdough Bread
These quantities will give you 1 large loaf of sourdough bread, if you want smaller loaves you can divide into 2 loaves before cold fermentation or increase the quantities proportionately.
150gms active sourdough starter
300-350gms of filtered water
25gms olive oil
500gms bakers’ flour (sometimes I will substitute for around 150gms of organic whole wheat flour)
10 gms fine sea salt
Mixing the Sourdough Ingredients
In a large bowl whisk together the water, sourdough starter and olive oil. I tend to use a fork which I then use when adding the flour.
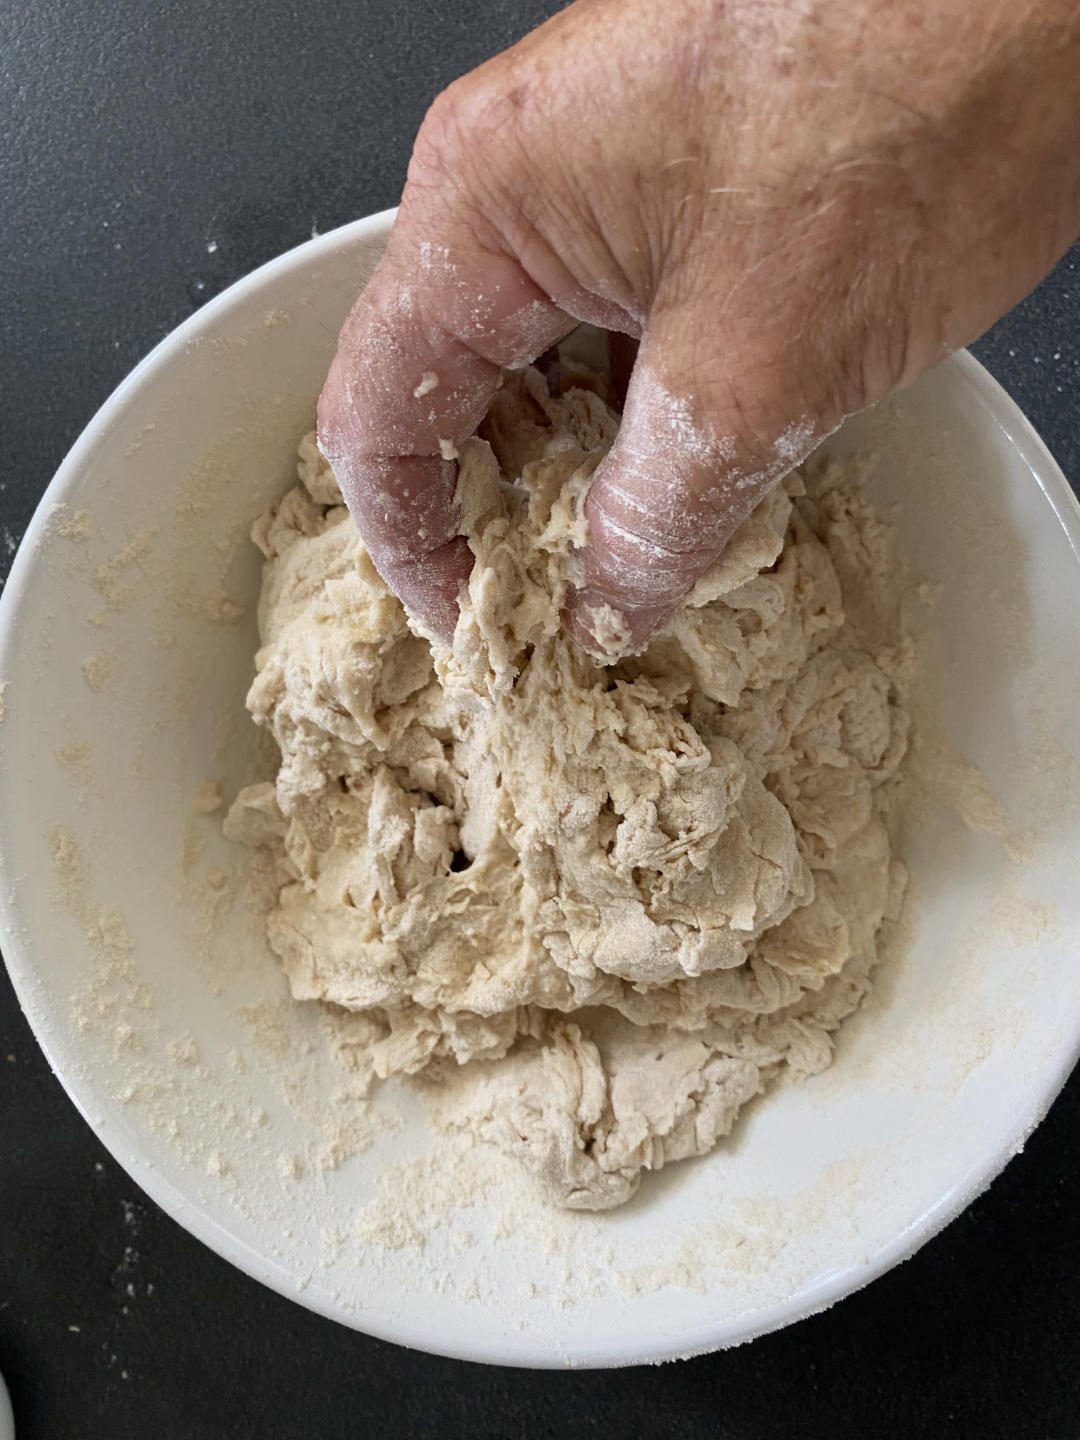
Now add around half the flour mixing through into a batter consistency, now add the salt and the rest of the flour.
Once most of the flour is mixed in, I will use my hands to squeeze the dough through making sure all liquid and flour has come together (Usually only takes a couple of minutes).
Now turn the dough onto your bench top or work surface and push the mixture out from the centre with the heel of your hand to stretch the dough then fold it back over and rotate slightly.
Repeat the process until all the quick and easy sourdough bread mixture has come together (once again around 2 minutes) and form into a ball.
Now place the quick and easy sourdough mixture back into the bowl and cover with a lid, plastic wrap or damp tea towel.
Let it rest in a warm spot for close to 30 minutes (in the cooler months I like to place it under the range hood light or even near the fireplace, but don’t place it too close that you almost start baking it).
Stretch and Fold
Once 30 minutes has passed, we will begin a series of 3 – 4 stretch and folds. This is very easy to do.
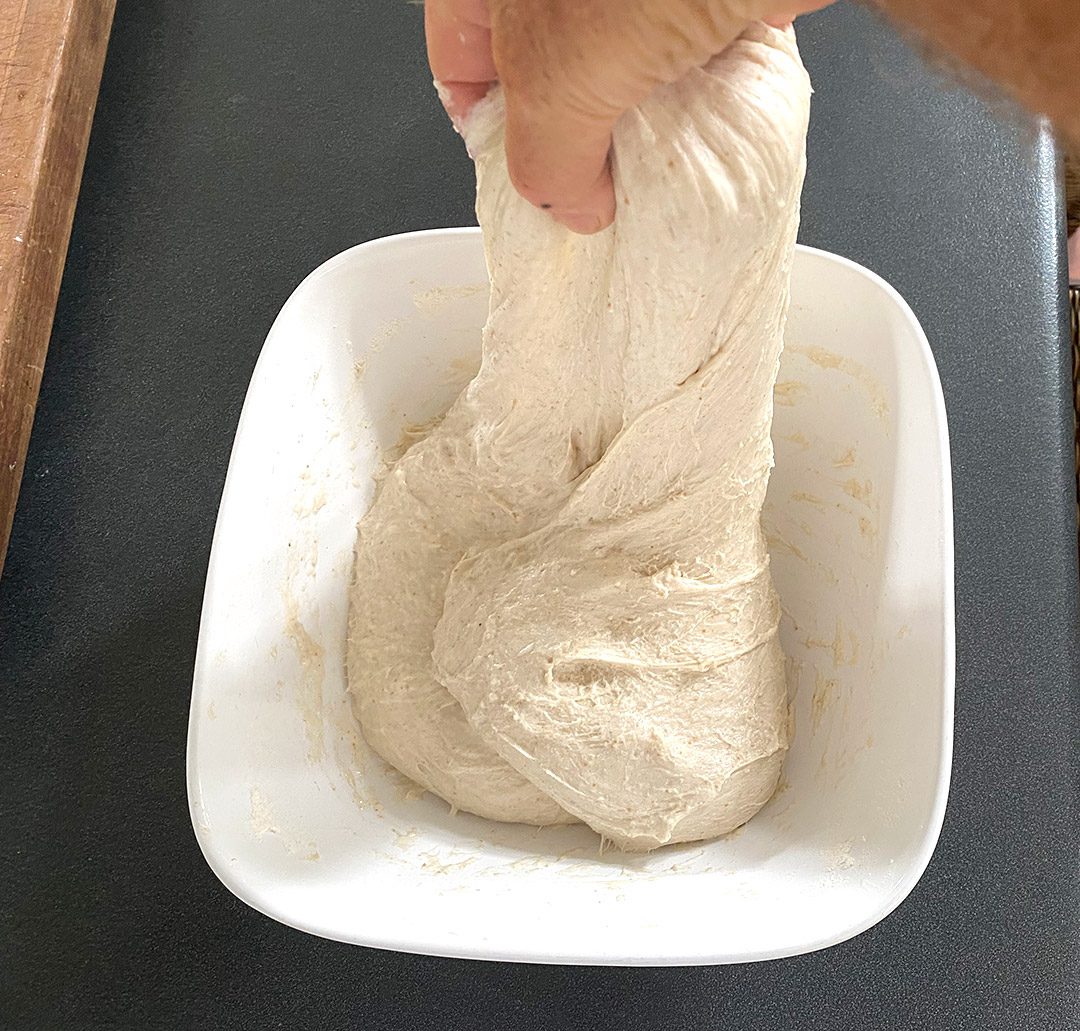
Simply grab the edge of the dough and pull it up towards you then fold back onto itself, turn the bowl 1/4 turn and repeat the same action until you get back to the start, 4 turns.
Now cover the bowl again and let the mixture sit for around 30 minutes then repeat the process again, do this at least 1 more time, 2 more if you have the time as this helps in strengthening the dough as well as increasing the volume and height of the finished loaf.
Now we need to rest the dough until it has doubled in size, I tend to let it go for a bit longer as it seems to make the loaf a bit lighter when baked.
Shaping and Second Rise
Now that the dough is ready for shaping very lightly dust your benchtop with flour and gently remove the sourdough from the bowl.
I like to get a spatula and gently pry the edges of the dough around the top of the bowl before turning the bowl upside down onto the lightly floured bench.
Now, similar to the stretch and folds we did earlier but way more gentle, grab the edge of the dough and fold in towards the centre, turn slightly and repeat until you get all the way around.
Turn the dough over and gently pull the dough towards you using your hands to tighten up the surface, spin the dough ball around until you get your desired shape. You are now looking at the top of your sourdough loaf.
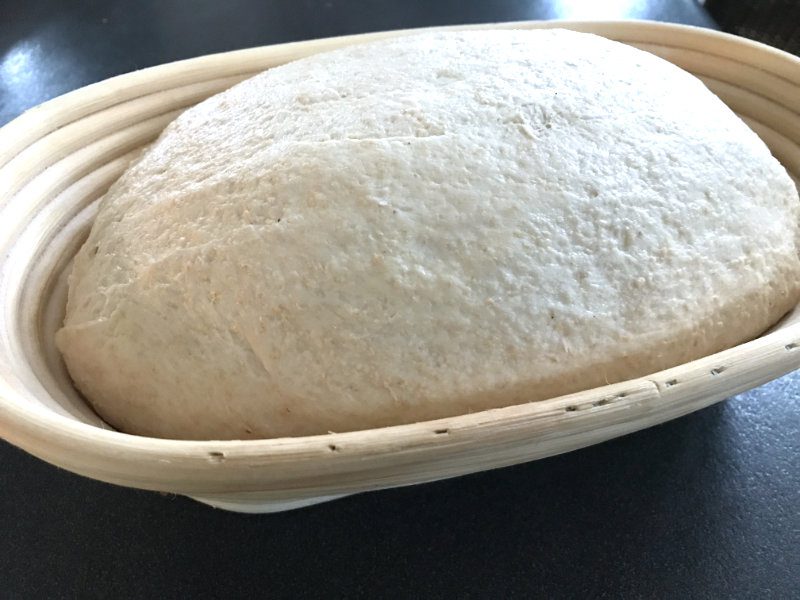
Using a bench scraper and your hands flip the dough over so the top of the loaf is facing down and place into a banneton or proofing basket.
Cover with a damp tea towel and place in the fridge for 24 – 48 hours. I find the flavour develops more the longer it is resting in the fridge.
Cooking Your Sourdough Bread
After the cold fermentation is finished you are ready to cook your sourdough.
Preheat a Dutch oven at 250°C for 30 minutes. Once it has preheated turn the sourdough onto a piece of baking paper and score the top around 5-8mm deep with a very sharp knife, I use a razor blade.
BEWARE – The Dutch oven is extremely hot at this stage, handle with extreme care.
Pick up the sides of the baking paper and carefully place it into the Dutch oven. Put the lid on and return to the oven, turn the temperature down to 240°C and bake for 30 minutes.
Remove the lid and bake for an additional 15 minutes and it should be good to go. When the internal temperature of the bread is around 98°C your loaf is cooked and ready to take out.
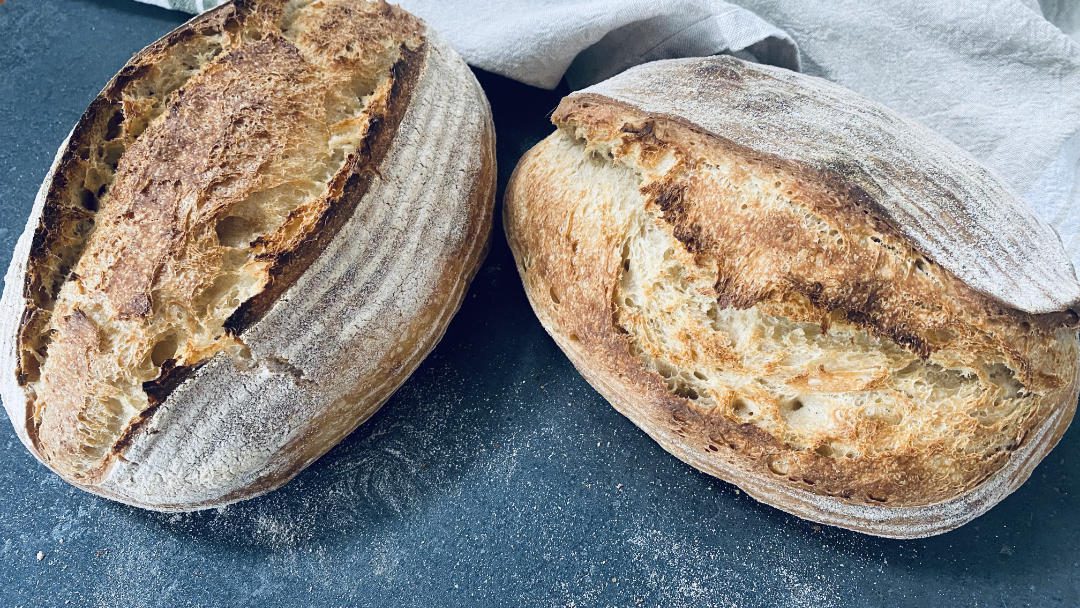
Remove the sourdough bread from the oven and place on a wire rack to cool, try to avoid the temptation of cutting it while still warm, I dare you.
And that’s it, enjoy your lovely home cooked quick and easy sourdough bread with your favourite soup like this one or our Slow Cooker Pumpkin Soup.

Beginners Quick and Easy Sourdough Bread
Equipment
- 1 Dutch oven
- 1 Bench scraper
- 1 Banneton or proofing basket
- 3 Assorted bowls for measuring ingredients
- 1 Kitchen scales
Ingredients
- 150 g active sourdough starter
- 300 - 350 g filtered water
- 25 g olive oil
- 500 g flour bakers
- 11 g salt fine sea salt
Instructions
- In a large bowl whisk together the water, sourdough starter and olive oil.
- Next add the flour and salt and mix together until well combined. The dough will look lumpy and shaggy but that is ok.
- cover the bowl with cling wrap and rest for 30 minutes in a warm spot. After this we will do 3 - 4 sets of stretch and folds.
- After resting for 30 to 60 minutes start the first stretch and fold by grabbing the edge of the dough and pull it up then fold over the centre, spin the bowl 1/4 turn and repeat until you get all the way around. If the dough is not too tight yet keep folding until it won’t stretch anymore. Now let it rest covered for another 30 minutes or so.
- Repeat the stretch and fold technique 2 - 3 more times before covering the bowl and placing in a warm spot to rest and double in size. I like to place under my rangehood lights.
- After the dough has almost doubled in size, usually around 4 - 6 hours, place the dough on a lightly floured bench and fold the edges up to the centre, turn the dough over and apply tension to the surface of the dough ball by cupping your hands around the base and pulling it towards you, Turn the dough around a few times repeating the process. Now your dough will be smooth and ready for the final proofing.
- Roughly shape the sourdough mixture to match your banneton or proofing basket then turn the dough upside down so the bottom of the dough is facing up and place into your proofing basket (lightly dusted with rice flour).
- Cover your dough with a damp tea towel and place it in the fridge for minimum of 12 - 16 hours.
- Preheat oven with the dutch oven inside for 30minutes at 250°C.
- Gently turn the dough out of the banneton, place a piece of baking paper on top of the dough and quickly invert the proofing basket. Score the top of the dough with a scoring knife or razor blade and place into the dutch oven, put the lid on and into the oven to bake.
- Turn the oven down to 240°C and bake for 30minutes with the lid on then remove the lid and cook for a further 15 minutes.
- Once cooked the internal temperature of the bread should be around 96 - 98°C then take it out of the Dutch oven and place on a wire rack to cool down. That's it, enjoy.

