
As you know we have been making some small changes to the way we do things to hopefully “detox” our lives, and these homemade diy dishwasher tablets are another part of natural solutions we stumbled upon.
With so many chemicals we are exposed to on a daily basis, we figured every nasty we can remove from our lives, no matter how small, has to be a win.
While the grocery store dishwashing detergent tabs work most of the time but not all the time, the fact they contain so many chemicals got us thinking.
There has to be a better way. Aha, homemade dishwasher pods using 4-5 ingredients you probably already have, is a simple recipe, cost cents per tablet, and clean just as effectively as store-bought dishwasher tabs without the chemical nasties.
The whole batch takes around 10 – 15 minutes to mix and shape and you will end up with a couple of dozen toxic free dishwashing tablets. You can pop them in a jar and use as required.
Here’s how to make them right the first time.
Why This Recipe Works
Most homemade dish tablet recipes fail because they use too much liquid or skip the binding step, which means they either crumble into dust or turn into a rock-hard brick in the container before you even use them.
This version nails the ratio using simple ingredients and no dish soap . The combination of washing soda and baking soda creates the alkaline base that breaks down food particles and cuts grease.
Citric acid works as the activator, creating that fizzing action when it hits water, which helps the cleaning agents disperse evenly across your dishes.
Kosher salt acts as a scouring agent for stuck-on bits, and it also helps the tablets hold their shape without binding into one giant clump.
The small amount of water brings everything together just enough to press into moulds, but not so much that the mixture activates prematurely or gets soggy.
The Lemon essential oil adds a nice fresh aroma because we all like nice and fresh hey! I didn’t have any lemon EO when I made my first batch so I cheated and used the juice of 1 lemon instead and it seemed to work fine.
So as you can see, these are basic dishwasher tablets without the chemicals that do work.
You’re also skipping all the fillers, dyes, and fragrance chemicals that brands add to make their pods look fancy.
Your dishes come out just as clean, your glassware doesn’t get that cloudy film build up, and you’re not introducing unnecessary chemicals into your rinse cycle or your wastewater.
Step-by-Step Instructions
Making these tablets is really child’s play, no special tools or techniques required, just a bit of elbow grease to pack them into the ice cube trays.
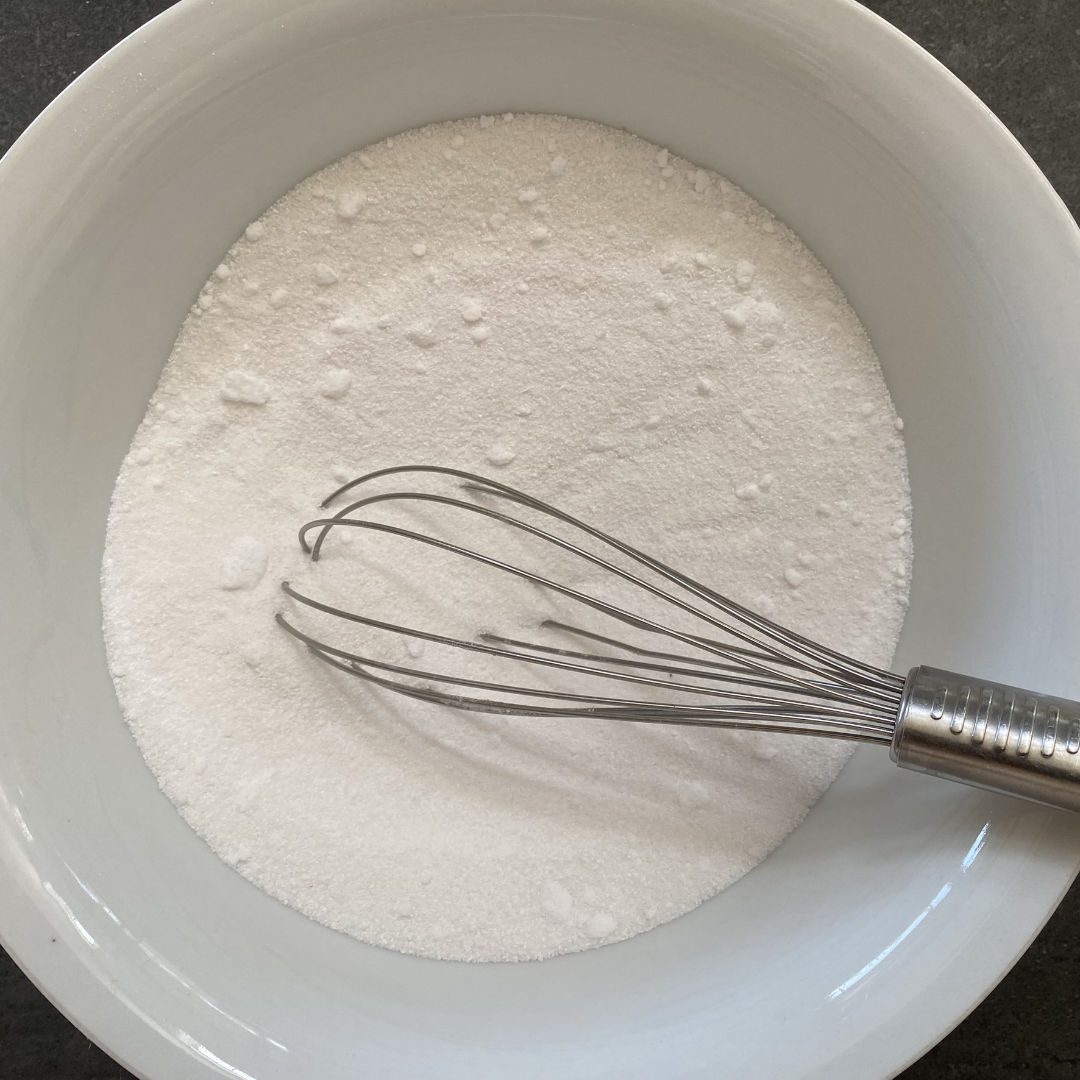
1. Combine the dry ingredients. In a large mixing bowl, whisk together 1 cup washing soda, 1 cup baking soda, 1/2 cup citric acid, and 1/2 cup kosher salt until evenly distributed.
Break up any clumps with your fingers or the back of a spoon. This step matters because uneven distribution means some tablets will be too acidic and others won’t dissolve properly.
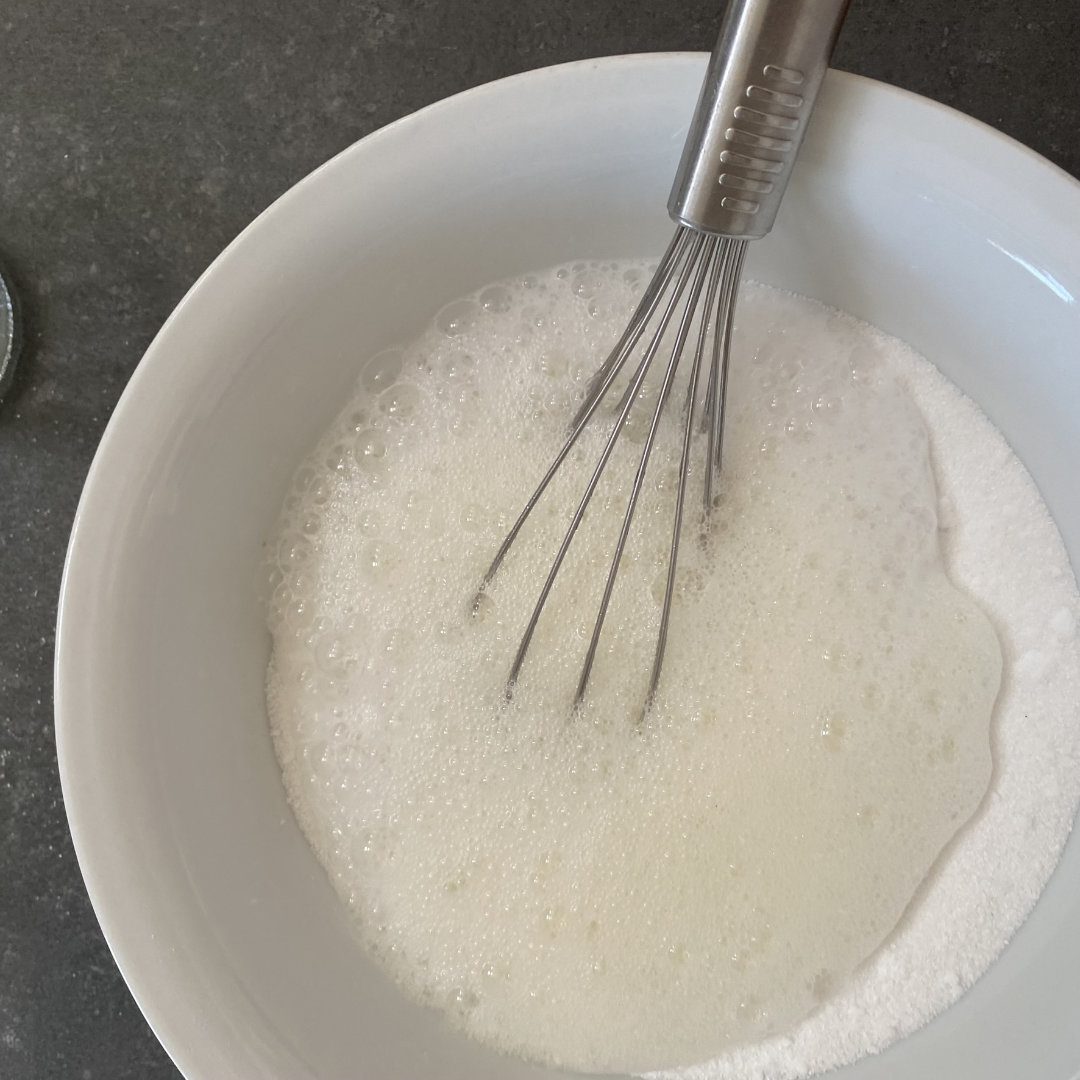
2. Add in the water. Pour in 2 tablespoons of water, then immediately stir with a whisk or fork to distribute it. The mixture will start to fizz slightly, which is normal. Keep stirring until the fizzing stops, then add another tablespoon and repeat.
You’ll use about 3 to 4 tablespoons total. The goal is a texture like wet sand that holds together when you squeeze it but isn’t dripping or overly damp. Just a note, the mixture will feel warm because of the reaction, this is normal.
If you dump all the water in at once, the citric acid will activate too fast and you’ll lose cleaning power. Once you’re happy with the consistency add the essential lemon oil and give it a whisk through.
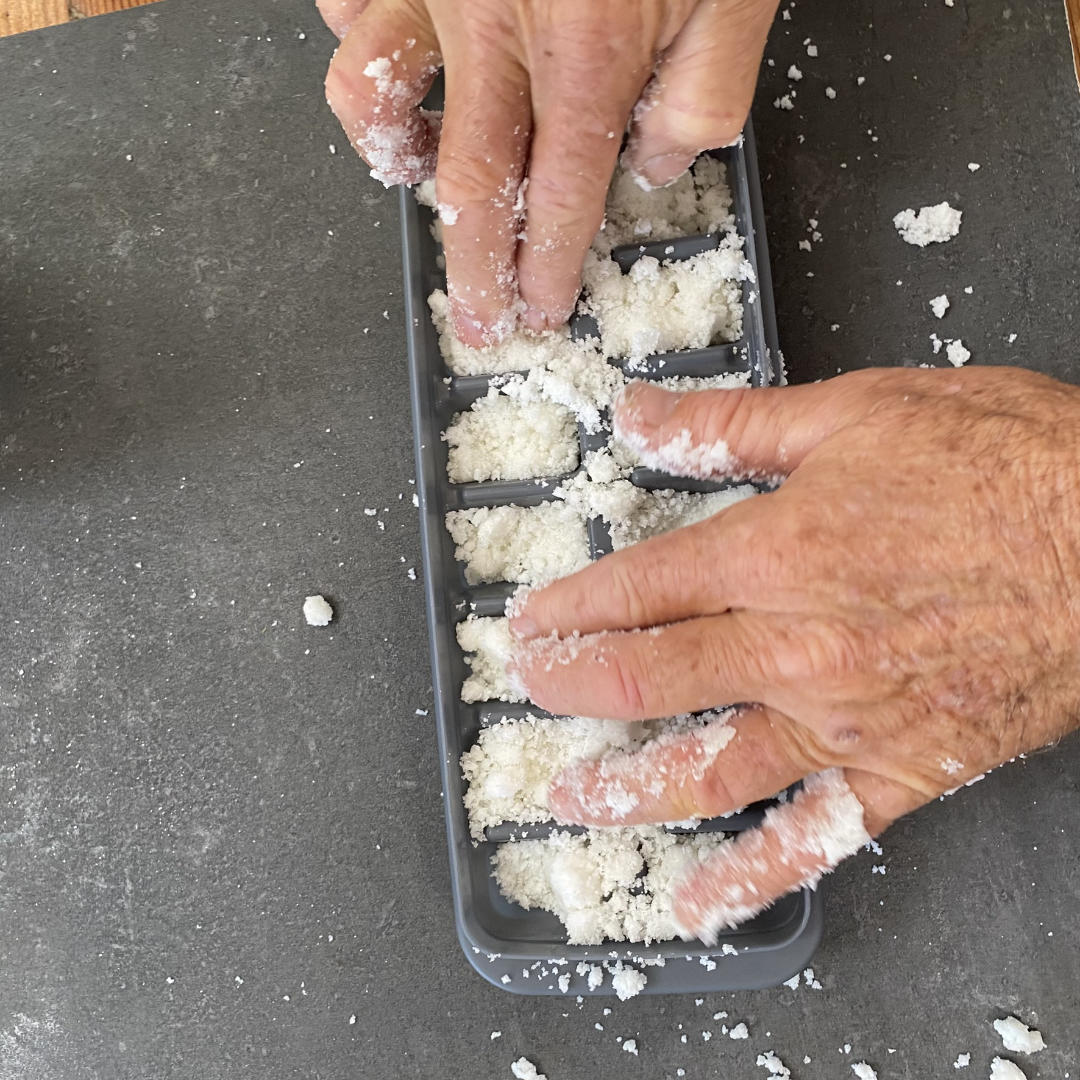
3. Press the mixture into moulds. Use a regular ice cube tray, a mini muffin tin, or any small mould with individual compartments (not too thick or they may not fit in your dispenser).
Pack the mixture tightly into each compartment, pressing down hard with your fingers or the back of a spoon. You want zero air pockets.
Loose tablets crumble in storage and don’t dissolve consistently in the wash. If the mixture isn’t holding together well, you may need to add another teaspoon of water, mix thoroughly, and try again.
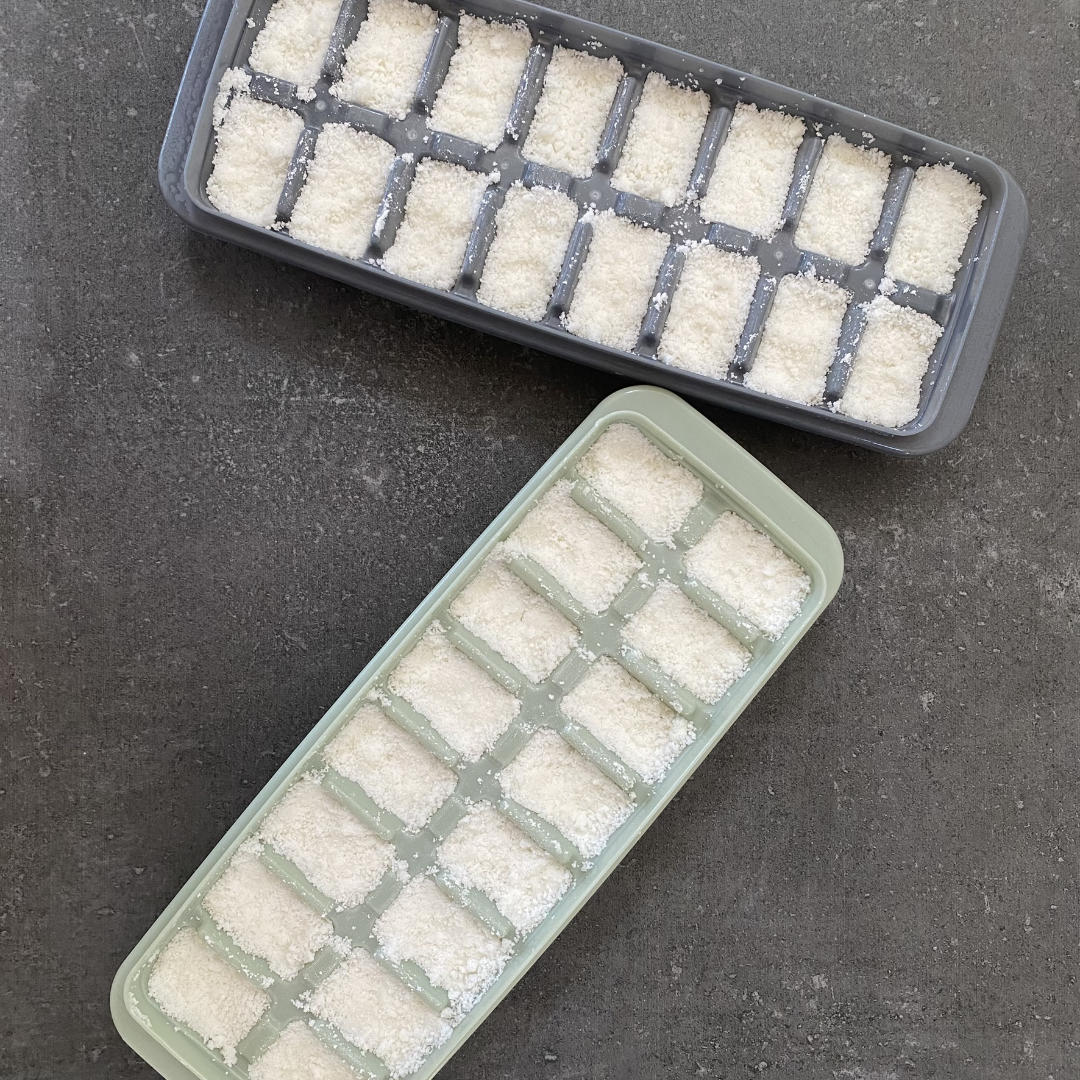
4. Let them dry completely. Leave the moulds out on the counter, uncovered, for at least 24 hours. If you try to pop them out early, they’ll fall apart.
The tablets need time to harden fully so they survive handling and storage. If your kitchen is humid, give them an extra 12 hours or dry them near a fan.
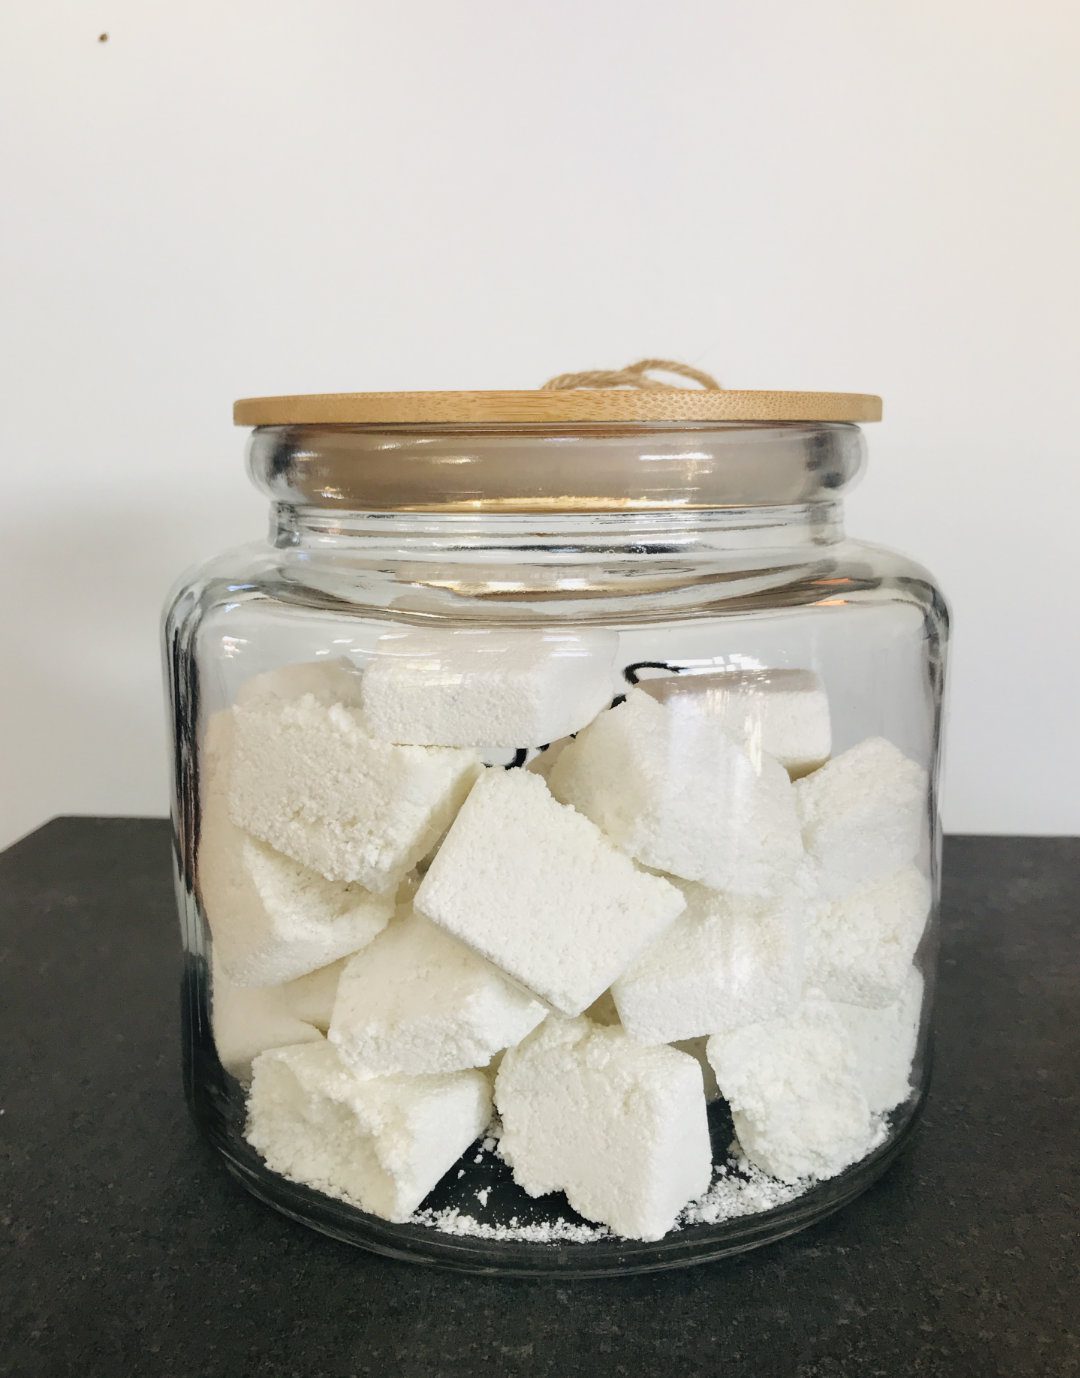
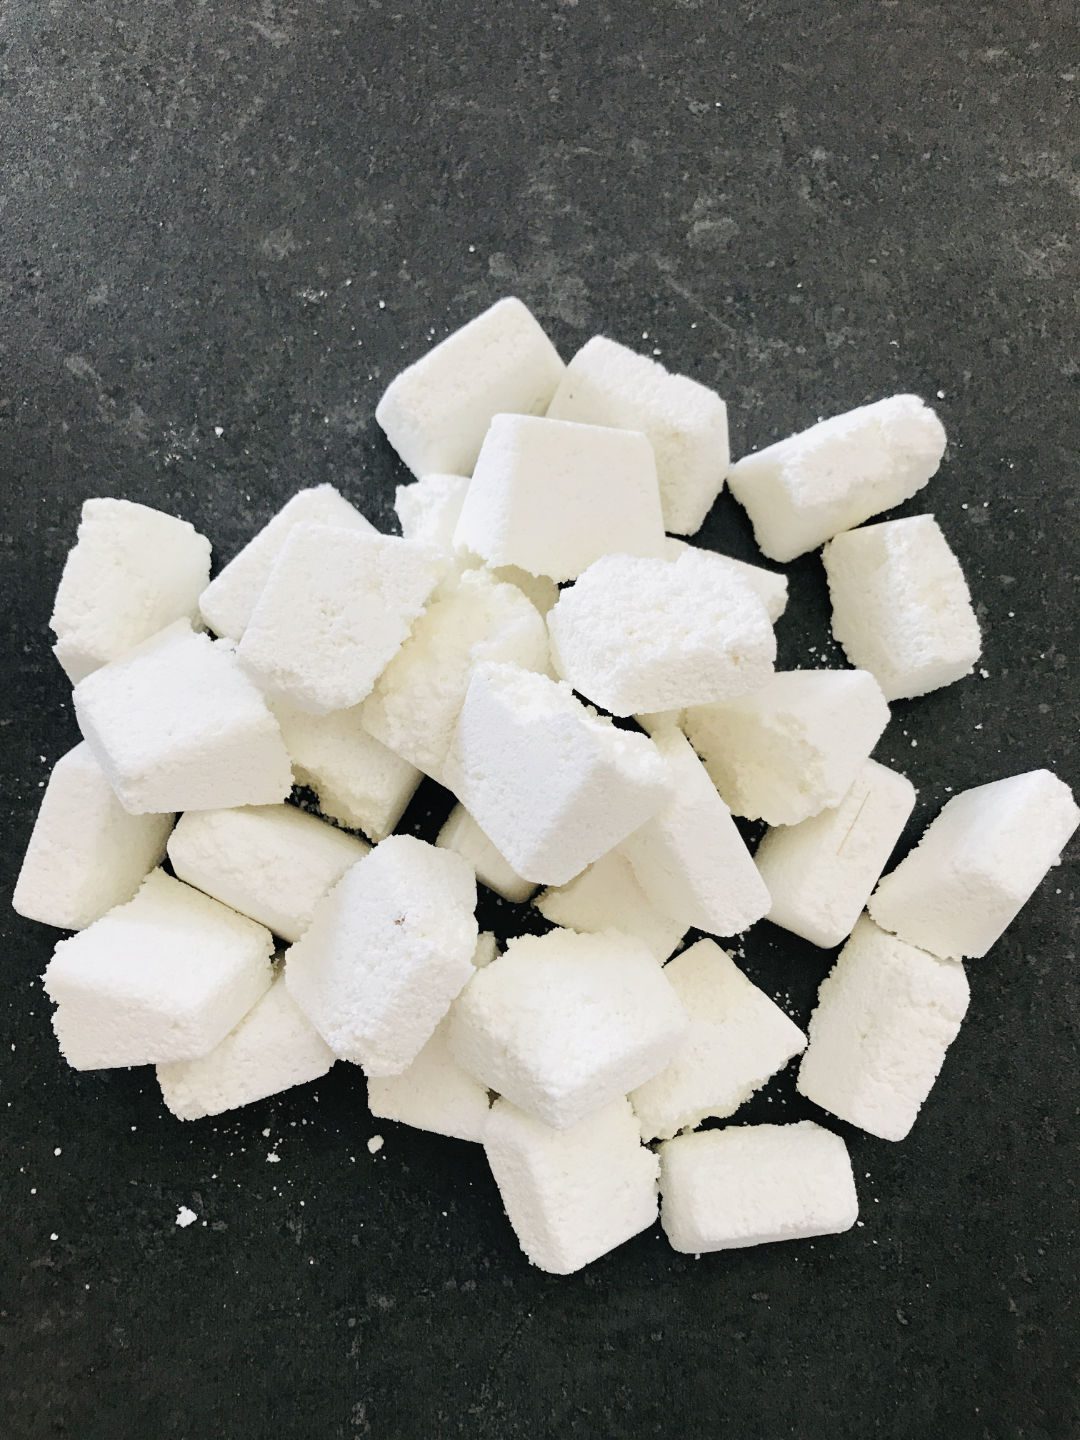
5. Pop them out and store. Once fully hardened, press the tablets out of the moulds from the bottom. Store them in an airtight glass jar or storage container. Be sure to keep the lid on tight. Exposure to moisture in the air will cause them to start breaking down prematurely.
You’ll get about 24 -30 tablets from one batch, depending on the size of your moulds. Each one works just as well as the name-brand pods, and you’ve only spent a few dollars on ingredients that’ll last you for ages.
Tips from the Pros
If you’ve made a batch and they’re not performing the way you want, here’s how to troubleshoot and level up your technique.
Use the right washing soda, not baking soda
They look similar but they’re chemically different. Washing soda (sodium carbonate) is more alkaline and cuts grease better. Baking soda (sodium bicarbonate) is milder and works as a deodorizer and gentle abrasive. You do need both in this recipe.
Add essential oils only after the water
If you want scented tablets, add 10 to 15 drops of lemon, lavender, or tea tree oil after you’ve mixed in the water and the fizzing has stopped. Oils added too early can interfere with the binding process. Just a few drops go a long way since the heat of the dishwasher will amplify the scent.
Press harder than you think you need to
The number one reason homemade tablets fall apart is weak compression. It really is important to pack that mixture in there. Use the bottom of a small glass or a shot glass to press down if your fingers aren’t strong enough. The tighter the press, the longer the tablet lasts in storage and the better it dissolves in the wash.
Rinse aid
Pair these tablets with a homemade rinse aid for the ultimate zero-waste dishwasher setup. Just fill your rinse aid compartment with straight white vinegar. It prevents water spots, helps dishes dry faster, and costs almost nothing. Some people worry about the vinegar smell, but it completely evaporates during the dry cycle.
Homemade DIY Dishwasher Tablets Storage Tips
Proper storage makes the difference between tablets that last for months and tablets that turn into a useless clump after two weeks.
Place in an airtight storage container away from moisture
- Glass jars with rubber-sealed lids work best. Plastic containers are fine as long as they seal tightly.
- Don’t leave the jar open on the counter, even for a few hours. Humidity in the air will start reactivating the citric acid, which makes the tablets break down and lose effectiveness.
- If you live in a particularly humid climate, toss a silica gel packet (the kind that comes in shoe boxes or vitamin bottles) into the jar to absorb any residual moisture.
These tablets keep for up to three months when stored properly
After that, they start to lose potency, especially the citric acid component. If your tablets are older and not cleaning as well, it’s time to make a fresh batch. The ingredients are cheap enough so there’s no reason to hoard old tablets.
And that’s about it. You just made two months worth of your own DIY dishwasher tablets in less time than it takes to run a load. Your dishes will come out clean, your wallet will thank you, and you’ve cut out a whole lot of chemicals and single-use plastic packaging.
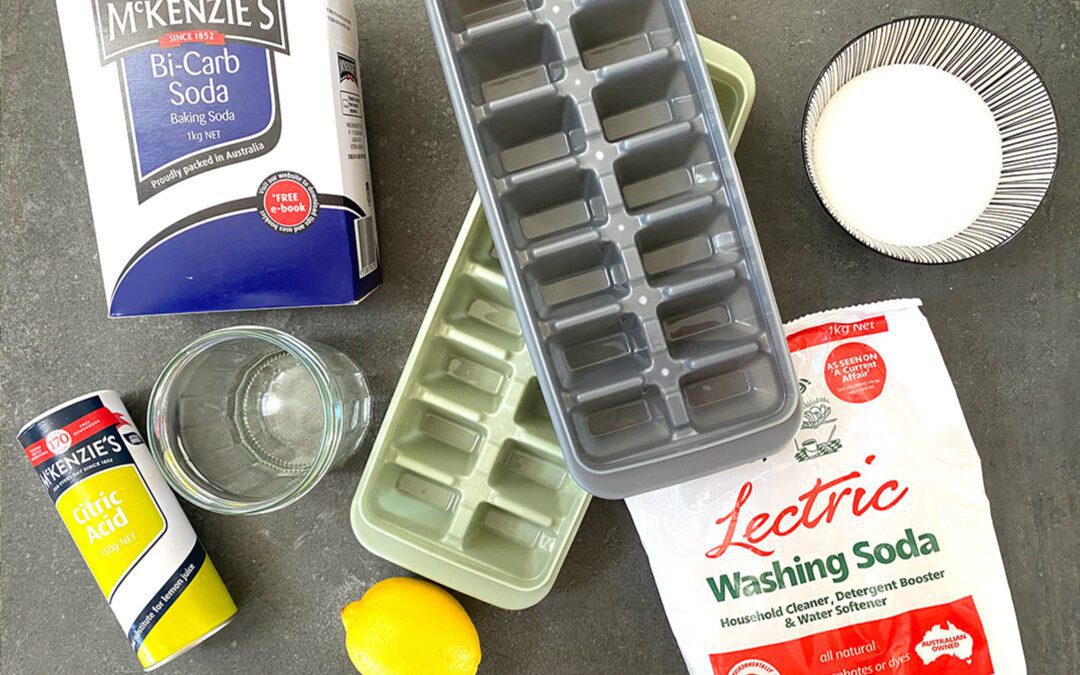
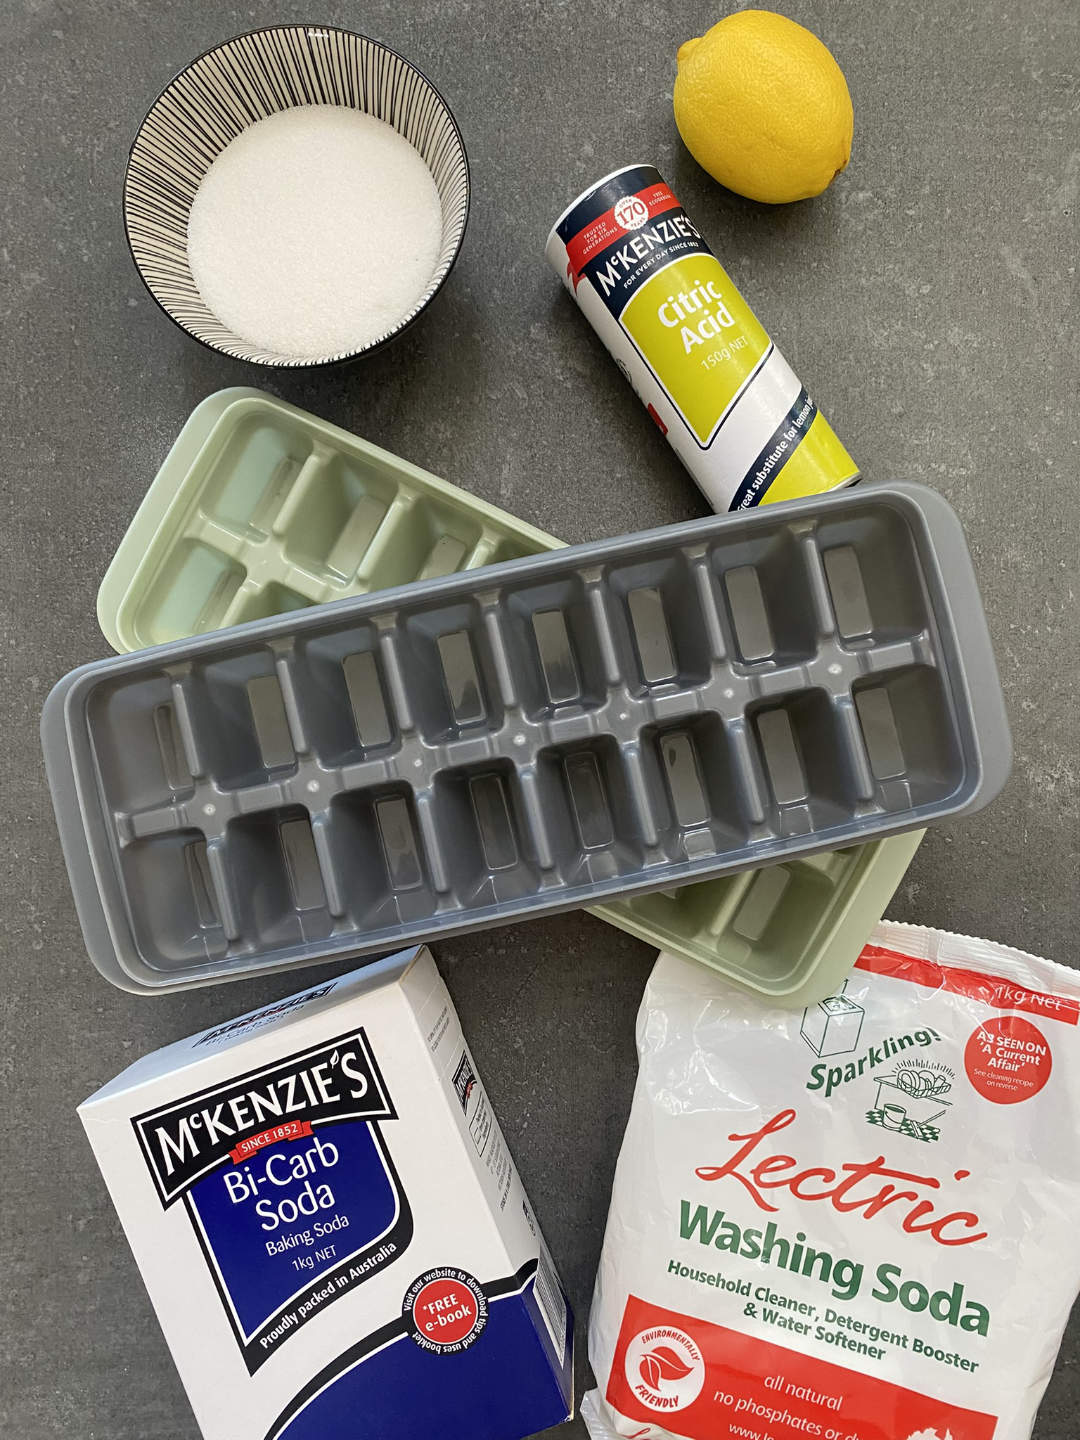
Natural Homemade DIY Dishwasher Tablets Recipe
Equipment
- 1 bowl for mixing
- 1 Whisk or a fork
- 2 Ice Cube Trays or similar moulds
- 1 Storage Jar
Ingredients
- 1 cup Washing soda
- 1 cup Baking soda
- 1/2 cup Citric acid
- 1/2 cup Kosher salt
- 2-4 tbsp water
- 10-15 drops Lemon essential oil
Instructions
- Add all the dry ingredients and mix together making sure to break up any lumps.
- Add 2 tbsp of water and stir in quickly, note the mixture will fizz up, that is normal. Add in the extra water as required mixing thoroughly, it should hold together when pressed with your hand.
- Finally add the drops of essential oil stirring quickly through the damp mixture.
- Press the mixture tightly into the trays pressing quite firmly, use a spoon if you need to.
- Leave the moulds for 24 hours to fully dry on the bench, don't be tempted to turn them out before this time as they may end up falling apart.
- Place them into a glass jar with a sealed lid to keep the moisture out. Thats it, enjoy.
